Drywall in Wet Areas: Best Practices for Bathrooms and Kitchens

May 30, 2023

Best Practices for Drywall in Wet Areas

drywall for bathrooms

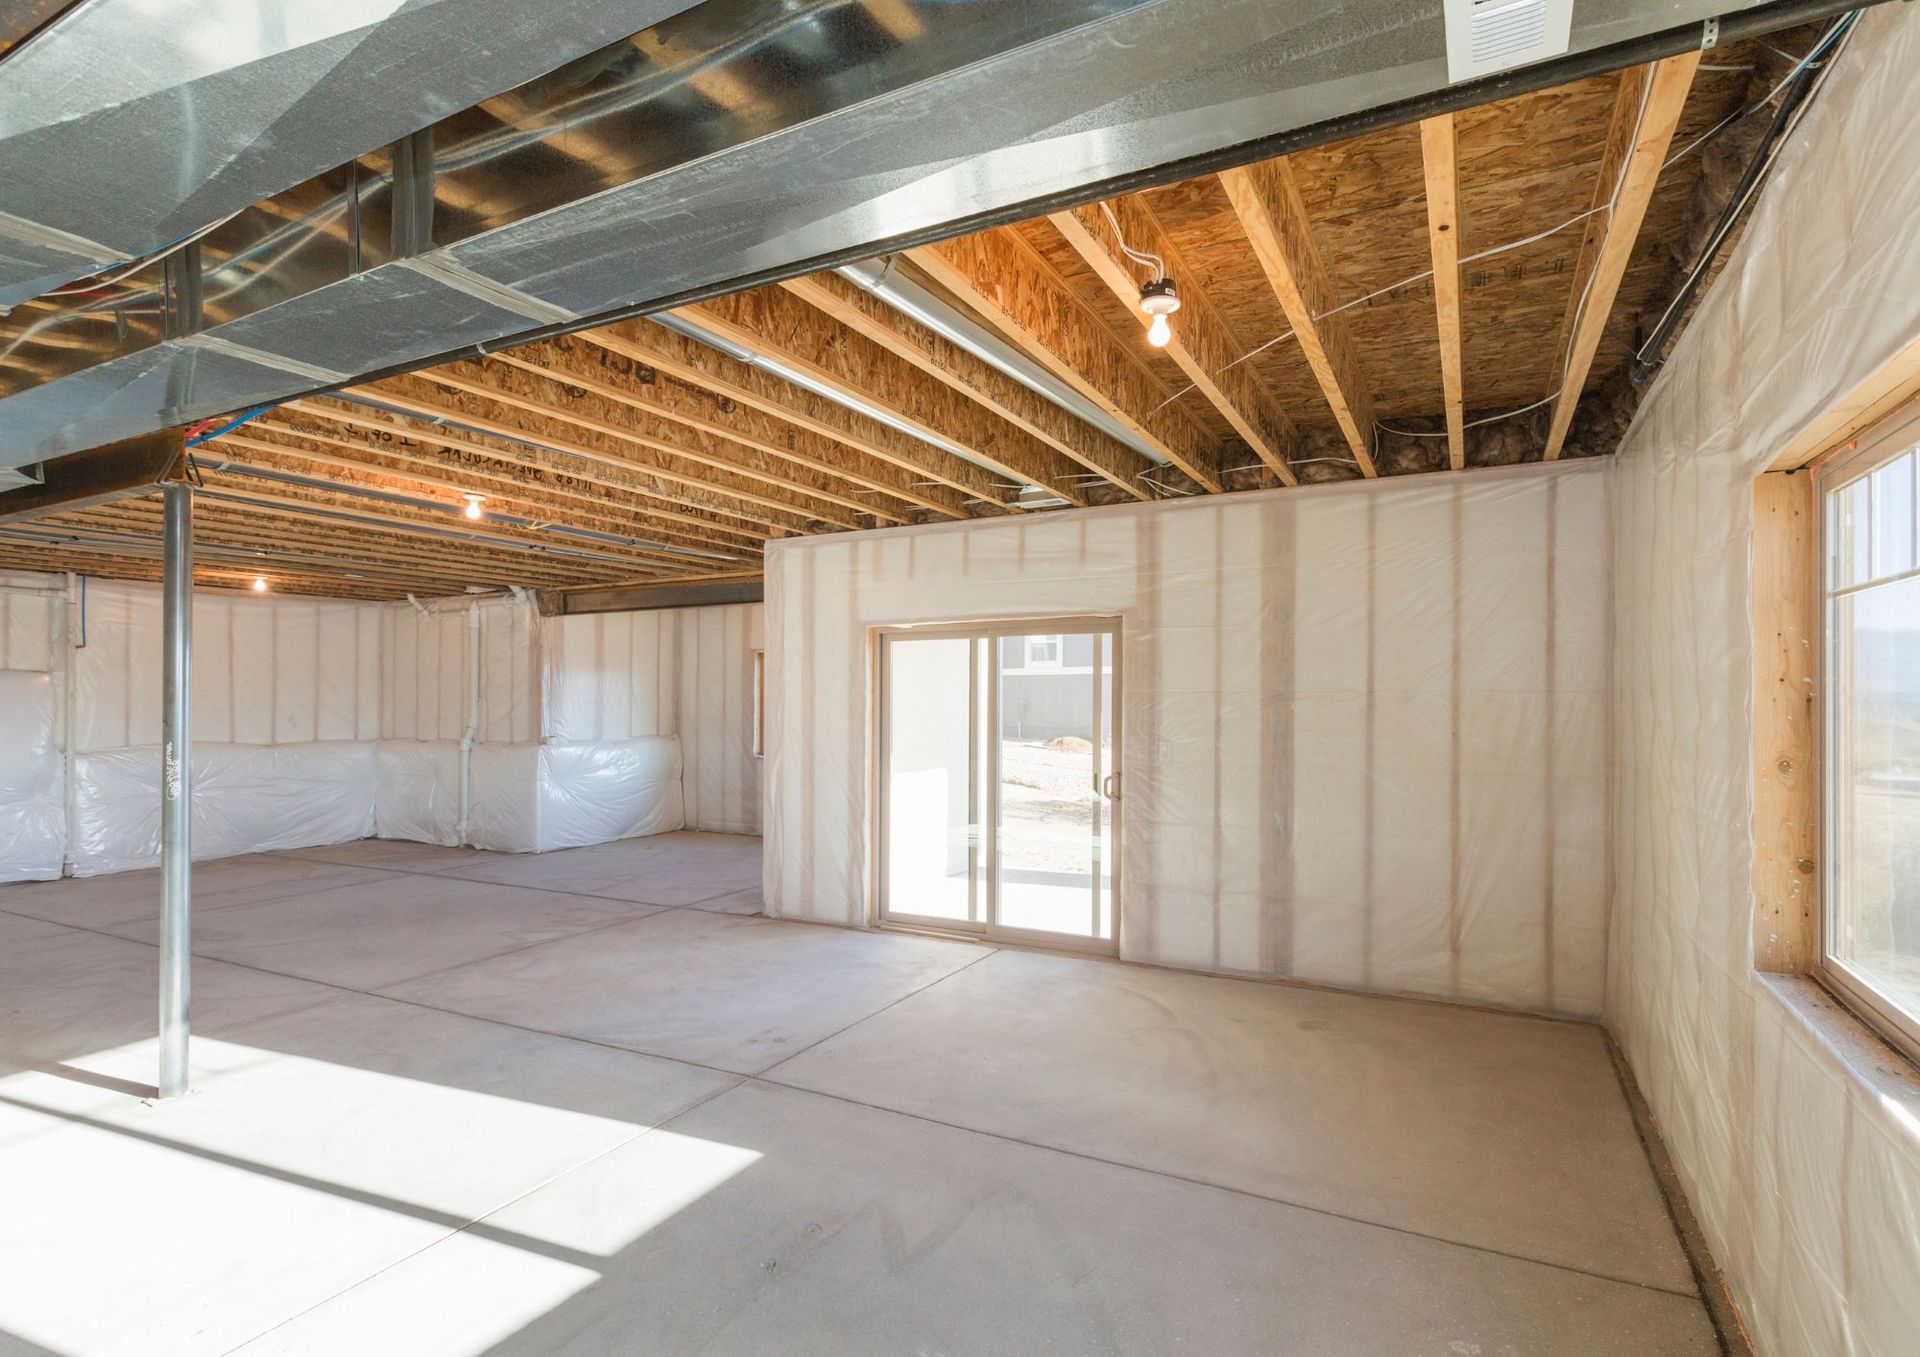
Installing drywall in wet areas, such as bathrooms and kitchens, requires careful consideration and adherence to specific best practices. These areas are prone to moisture, humidity, and occasional splashes, making it crucial to choose the right materials and techniques to prevent water damage and mold growth. In this blog post, we will explore the best practices for installing drywall in wet areas, providing you with the knowledge to ensure a durable and water-resistant finish.


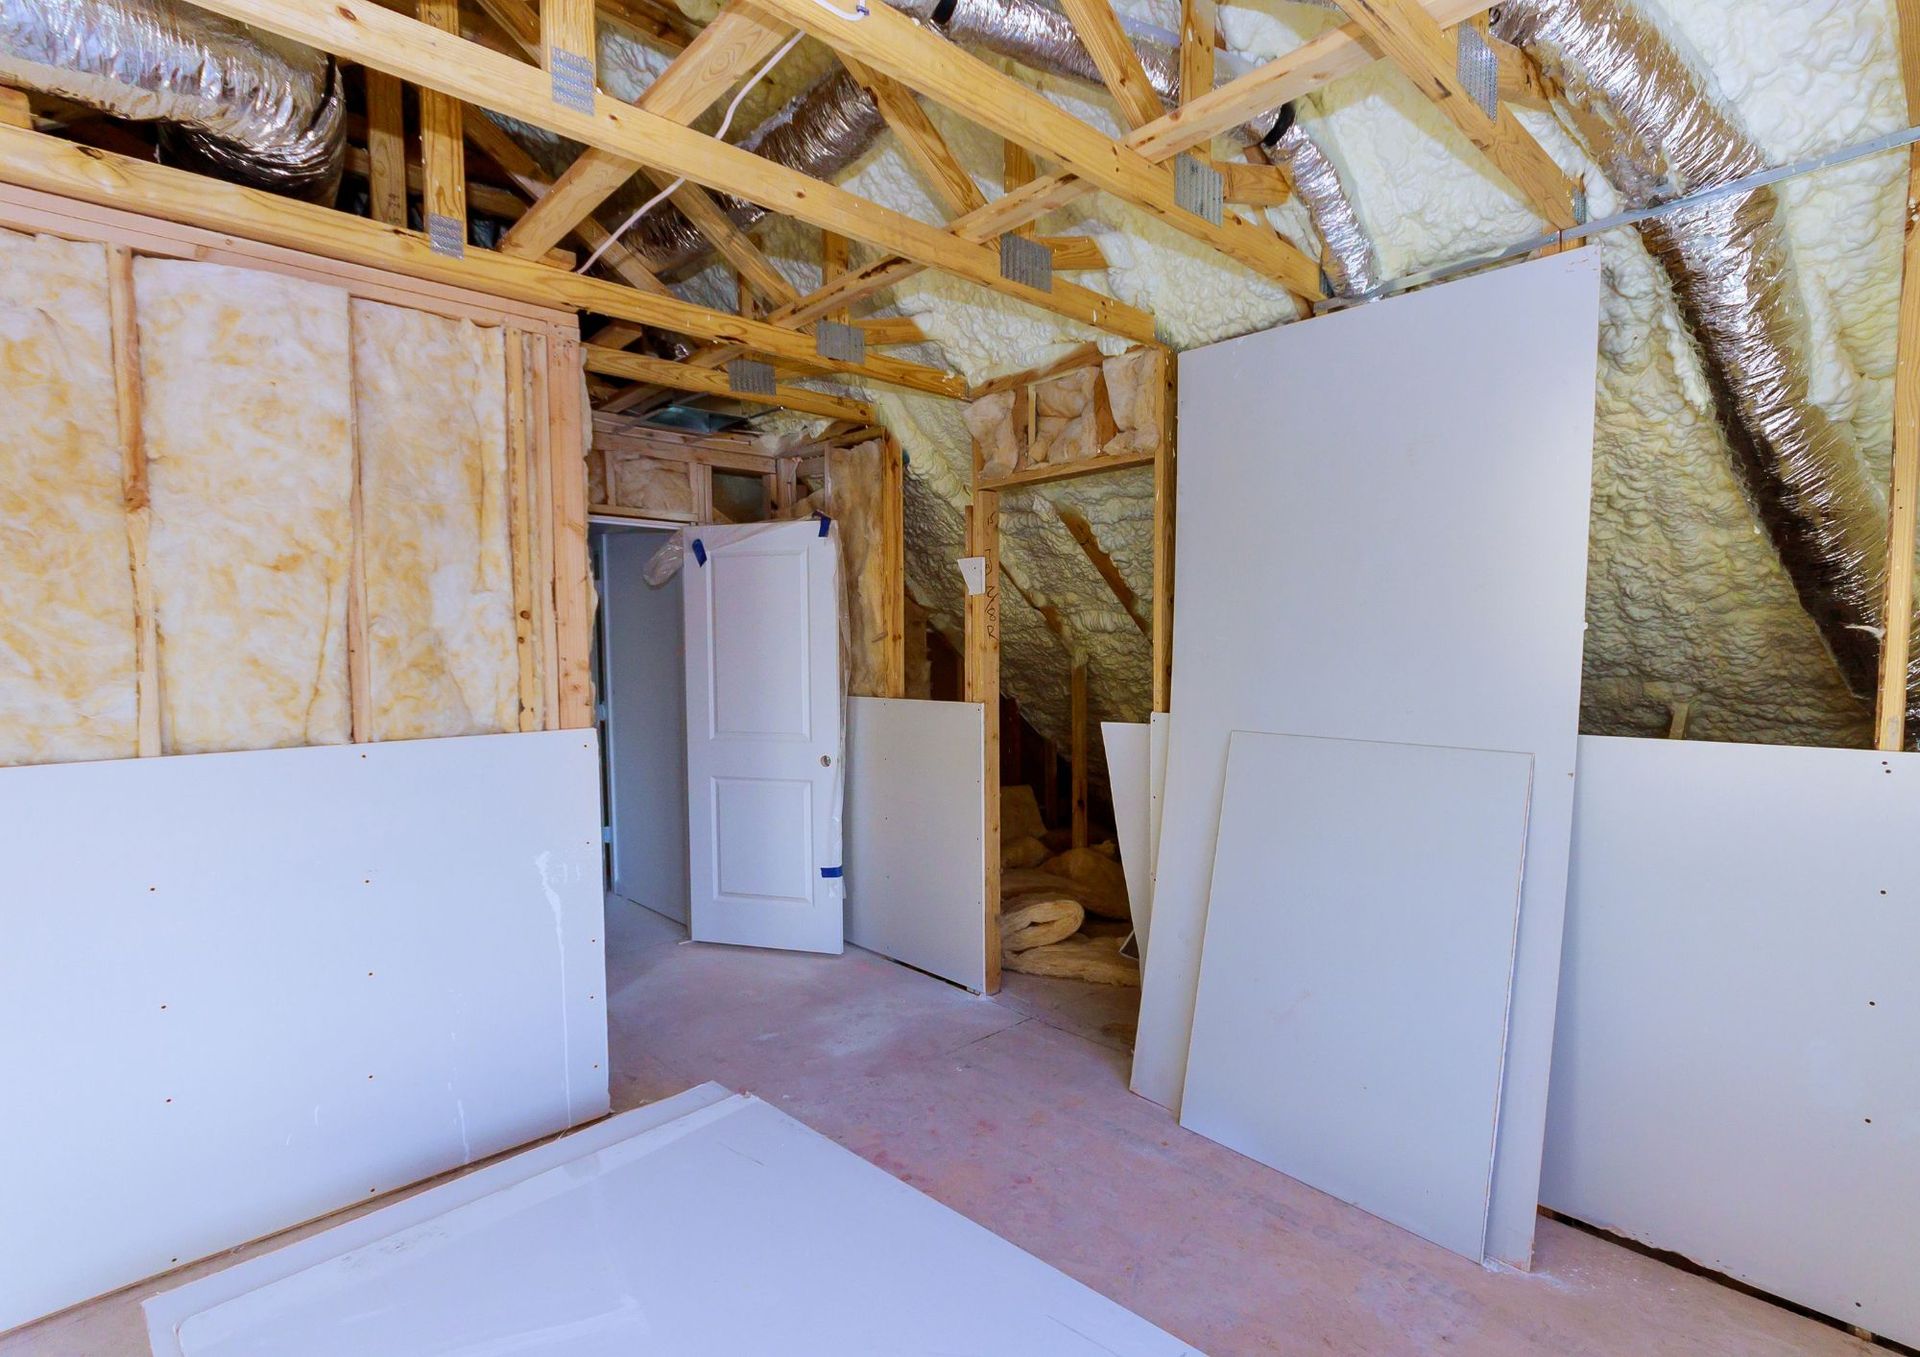
Choose Moisture-Resistant Drywall


When it comes to wet areas, standard drywall won't suffice. Opt for moisture-resistant drywall, also known as green board or cement board, which is specifically designed to withstand moisture exposure. Green board features a moisture-resistant gypsum core and a water-repellent paper covering. Cement board, on the other hand, is composed of a cementitious core and fiberglass mesh on both sides. Both options provide superior resistance to water and moisture compared to regular drywall.


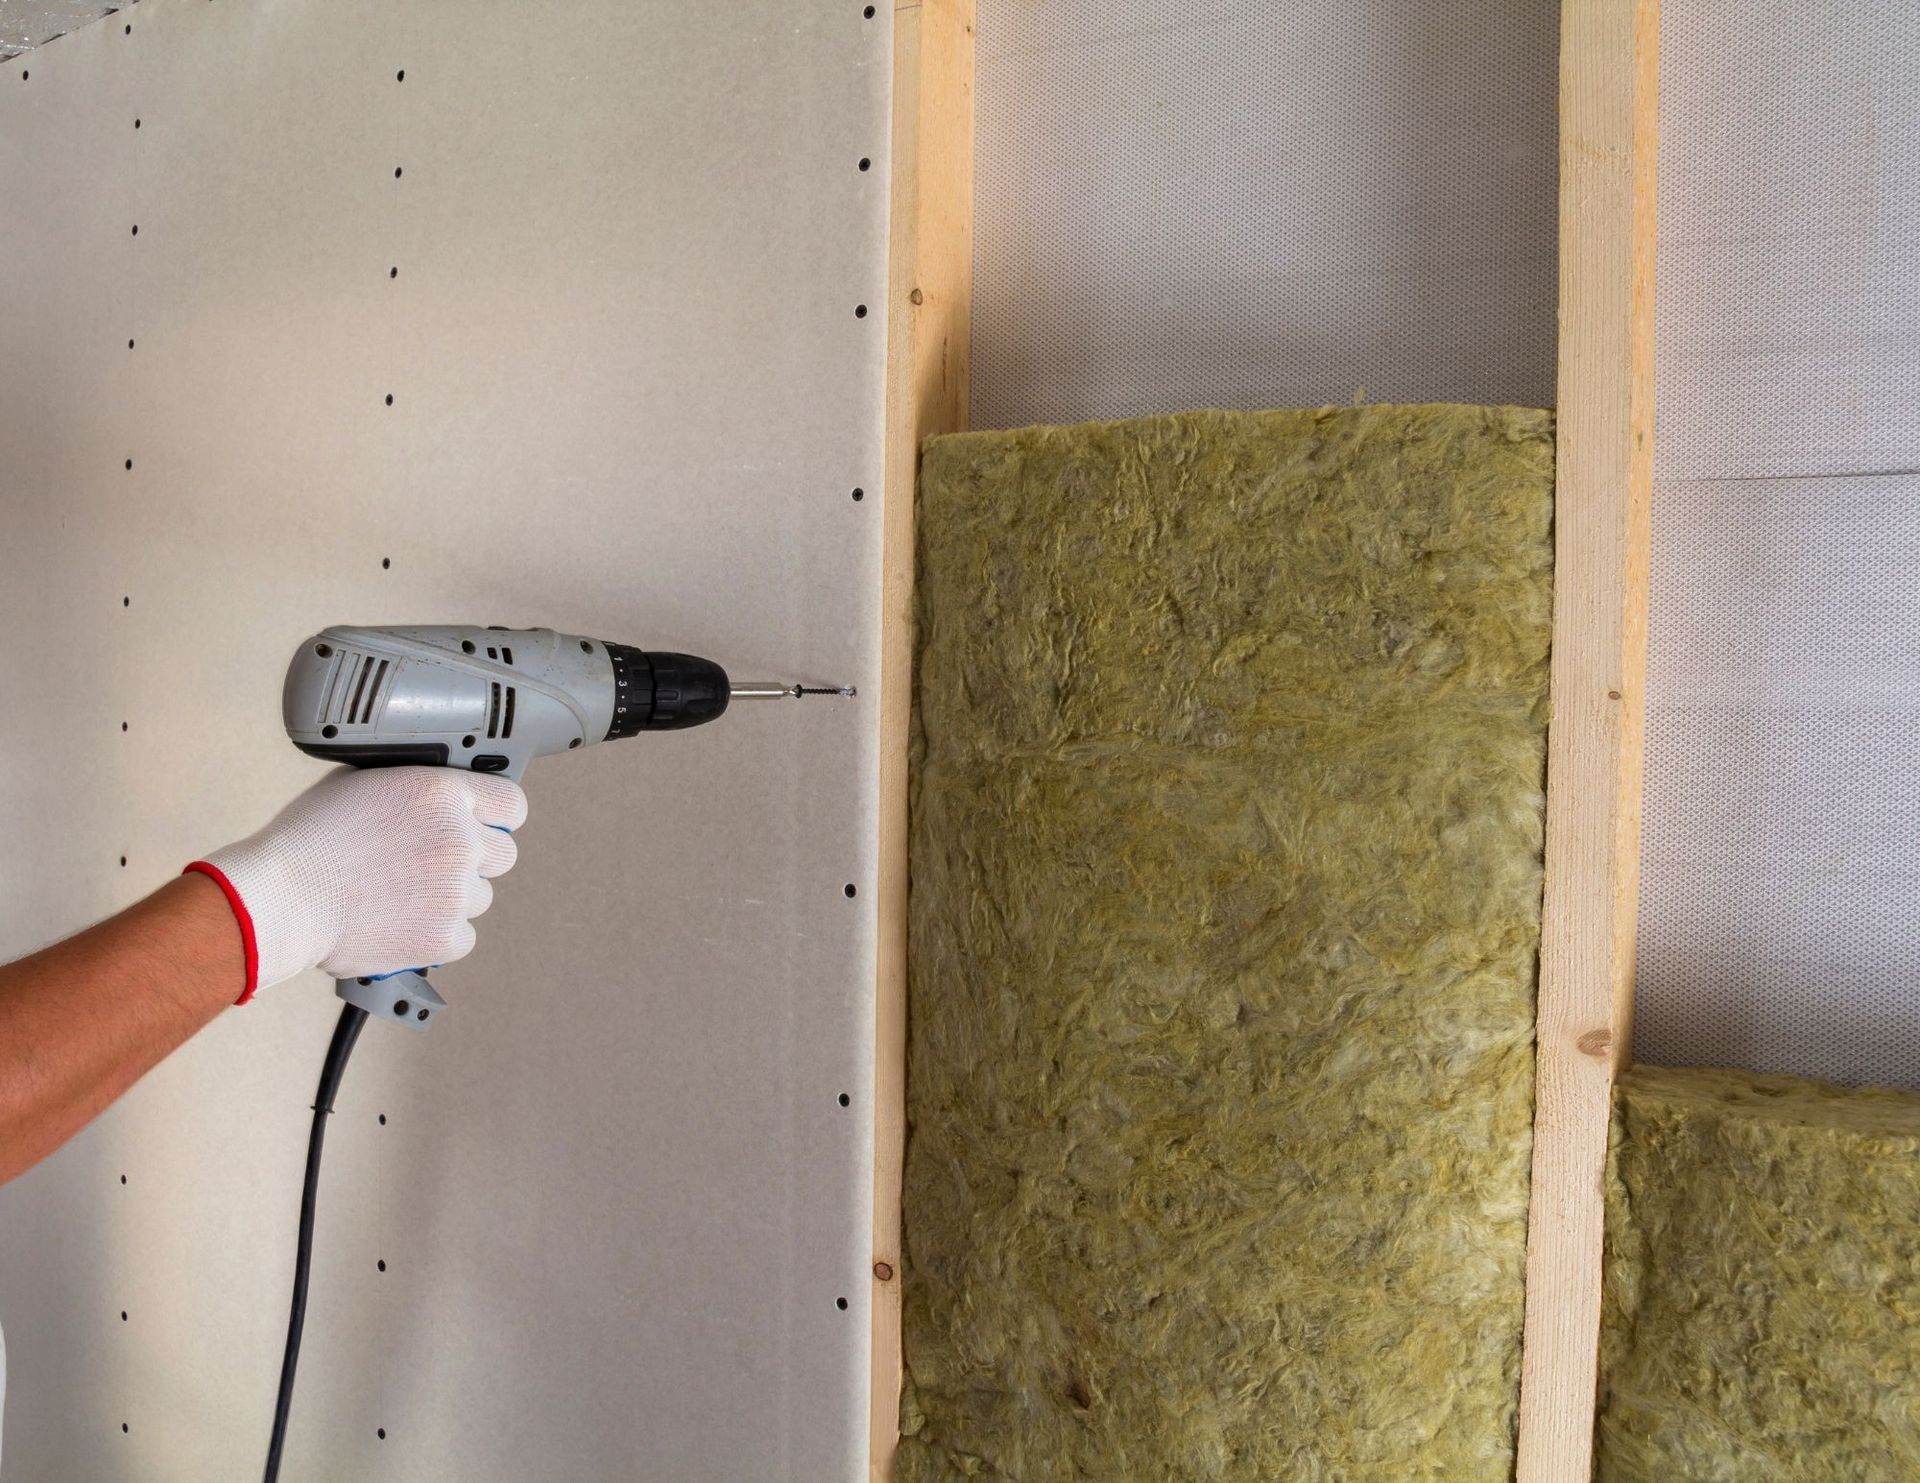
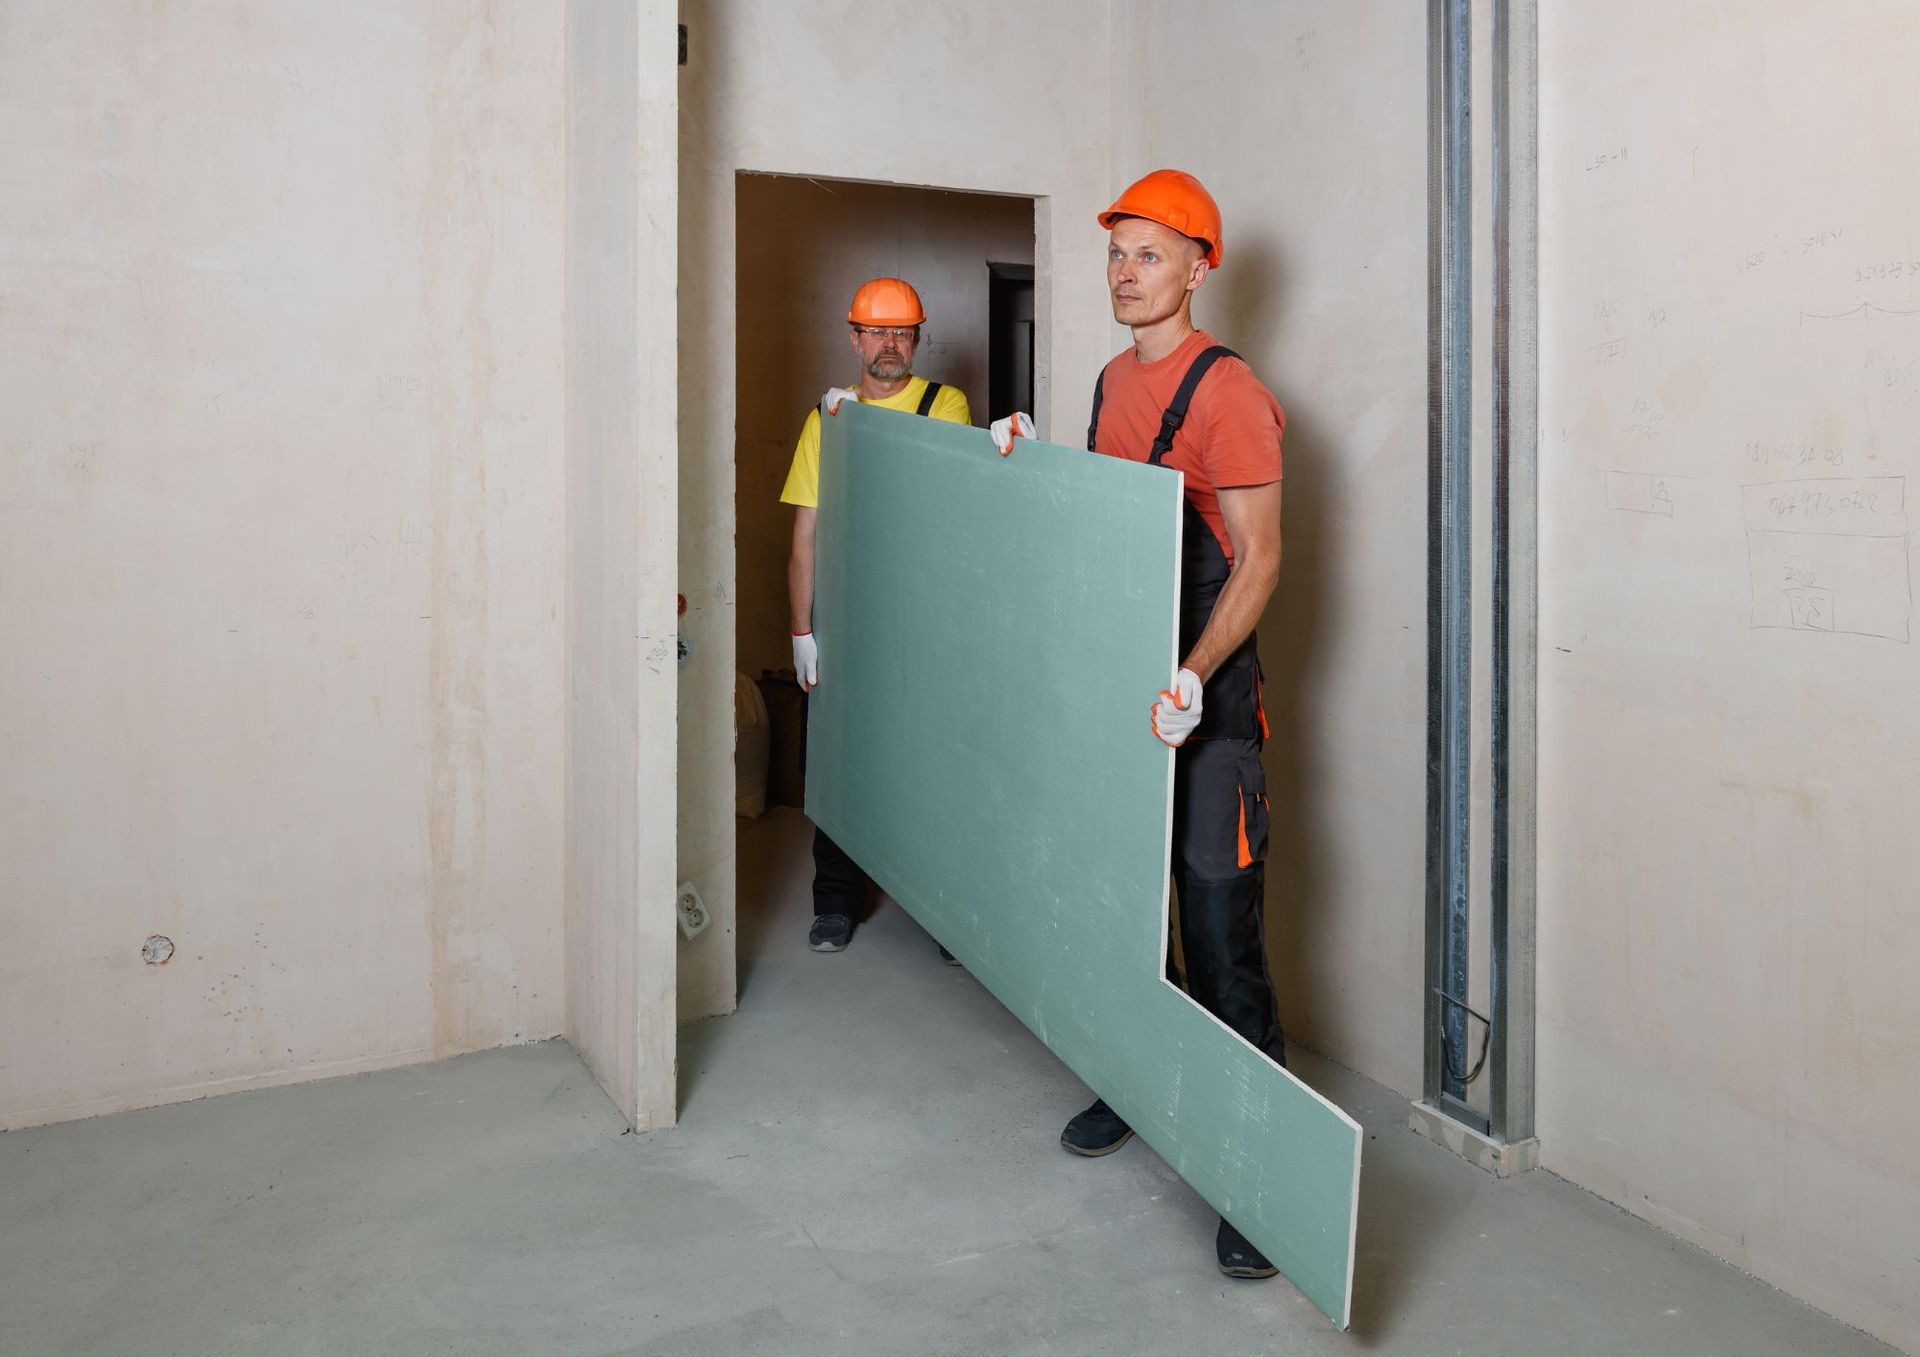
Proper Installation Techniques


Proper installation techniques are critical to ensuring the longevity and water resistance of drywall in wet areas. Begin by properly preparing the surface, ensuring it is clean, dry, and free of any loose materials. Apply a waterproofing membrane, such as a liquid waterproofing compound or a sheet membrane, to create an additional layer of protection against moisture penetration.


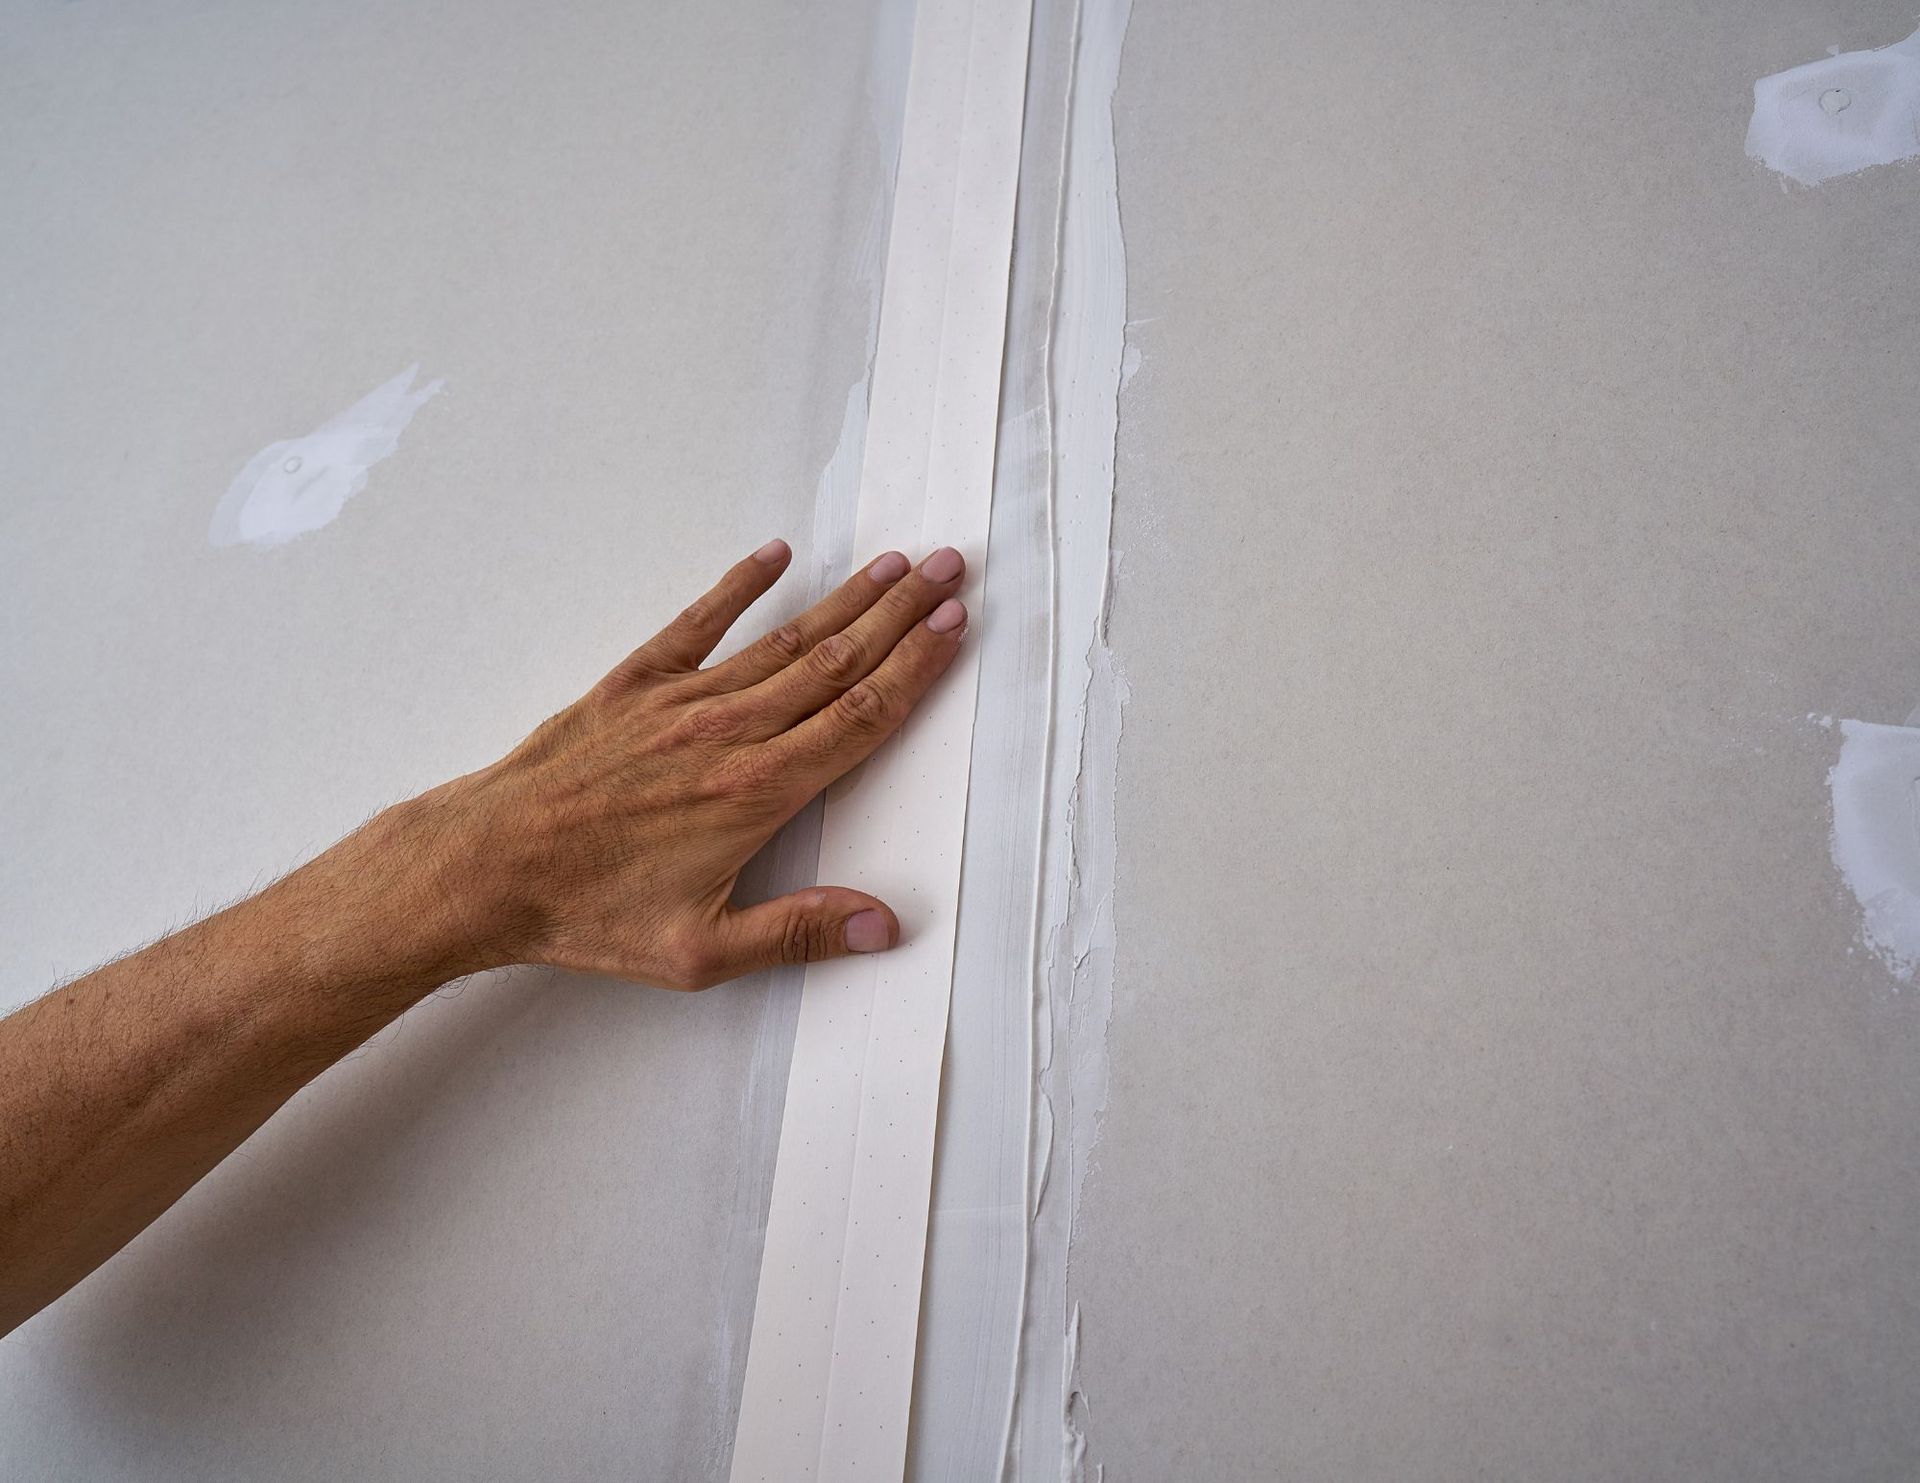
Next, ensure that all joints and seams are properly sealed using a waterproof joint compound or tape. This step is crucial as it prevents water from seeping into the gaps between drywall panels. Apply multiple layers of joint compound, feathering the edges for a smooth finish.


Additionally, consider using a vapor barrier behind the drywall to further protect against moisture. A vapor barrier, such as a plastic sheet, helps to prevent water vapor from penetrating the drywall and causing damage.


Adequate Ventilation


Proper ventilation is essential in wet areas to control humidity and prevent moisture buildup. Install exhaust fans or ventilation systems in bathrooms and kitchens to remove excess moisture from the air. This helps to reduce the chances of condensation on the drywall surface, which can lead to mold growth and damage.


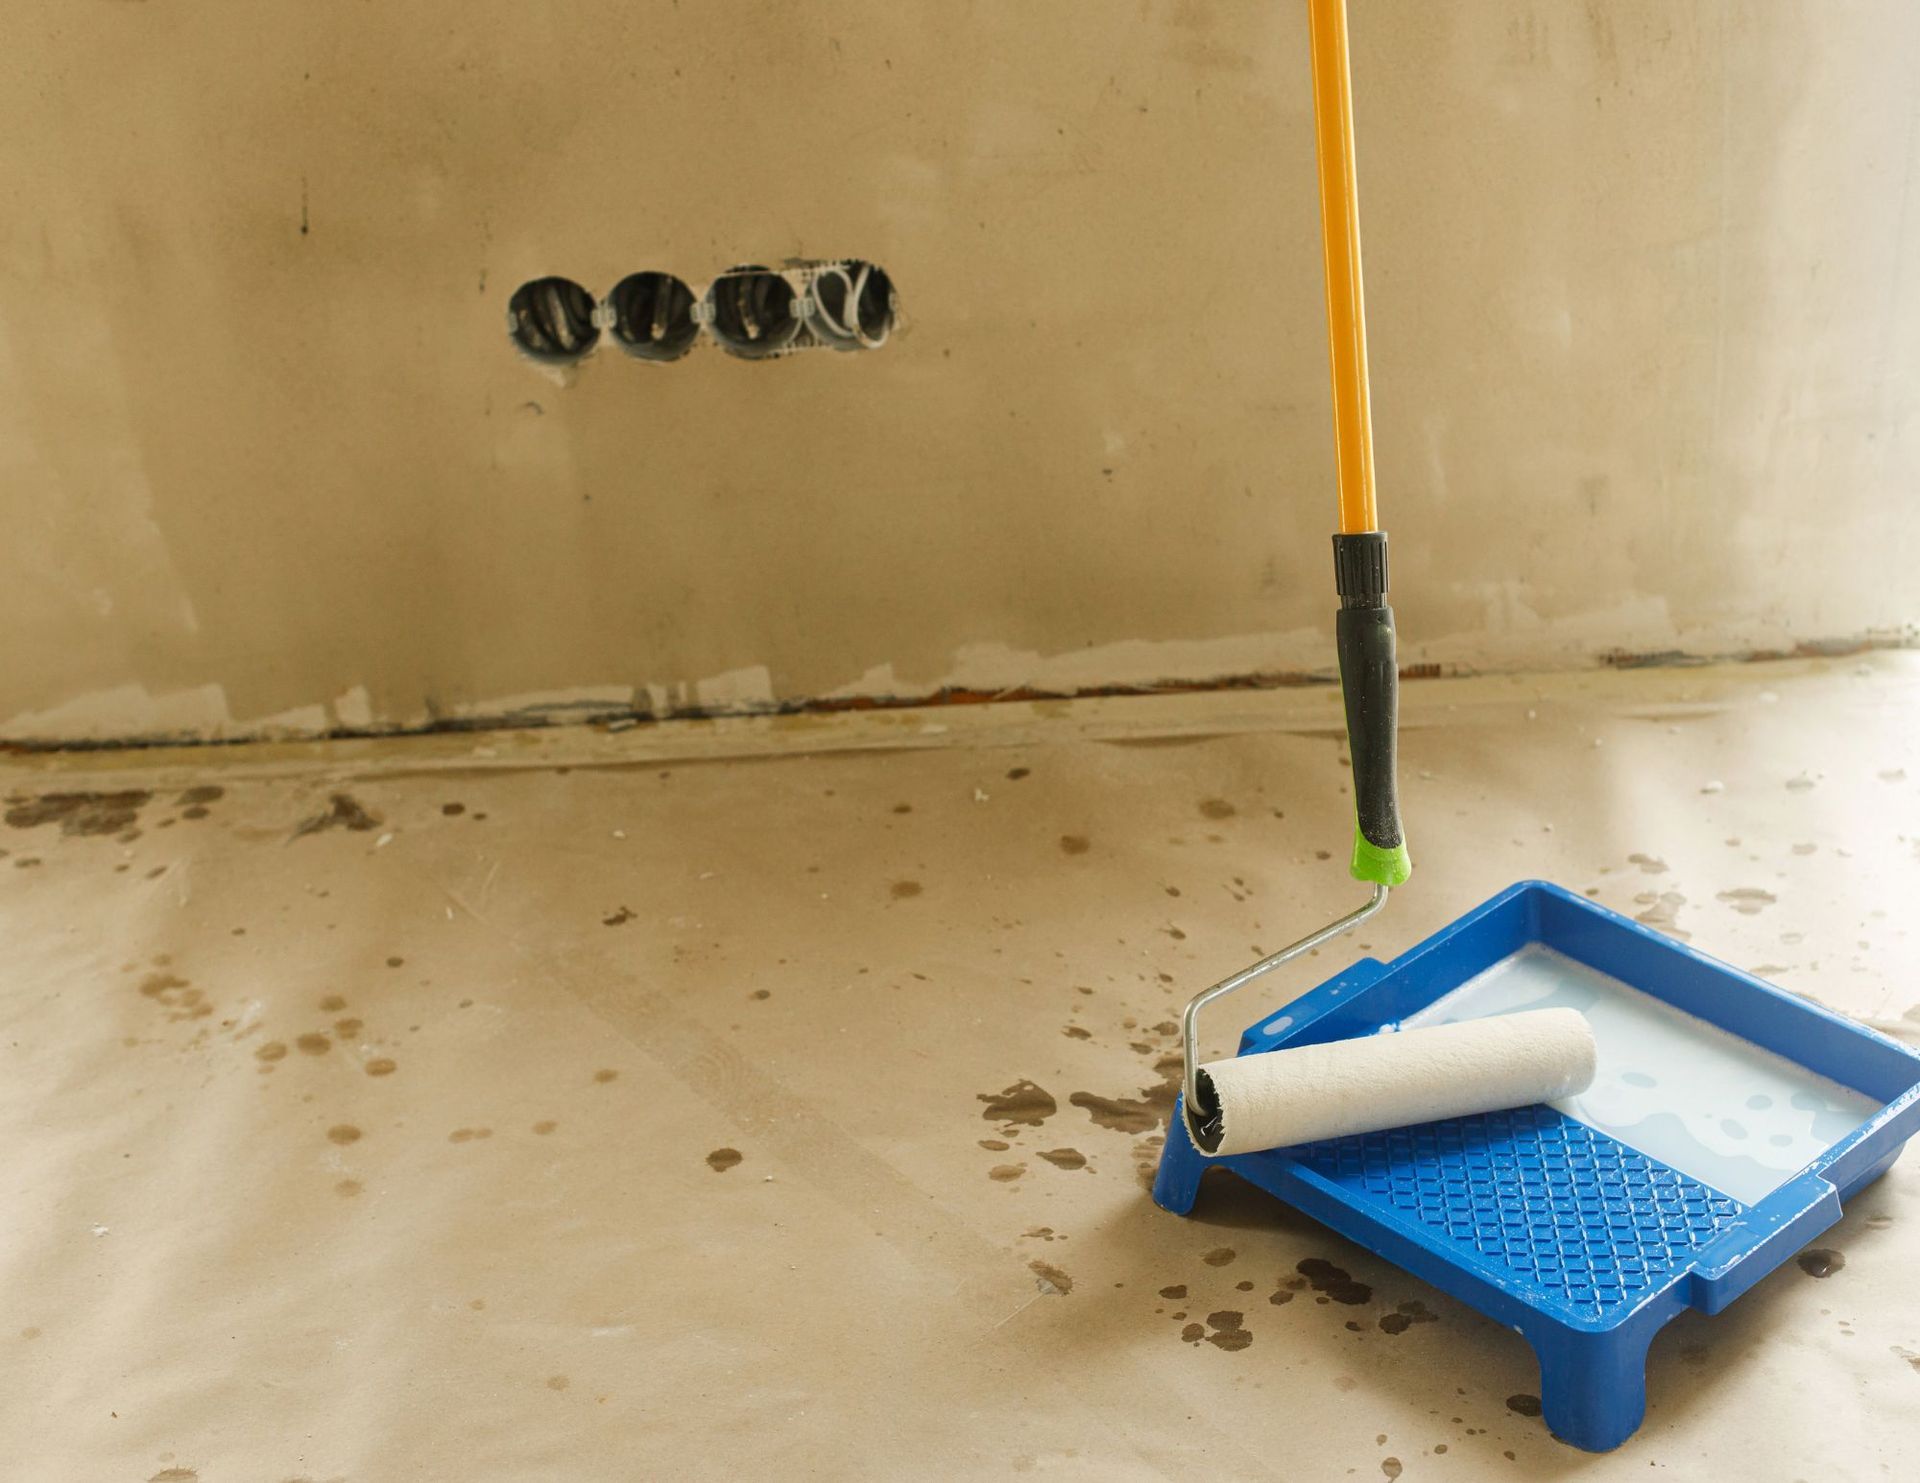
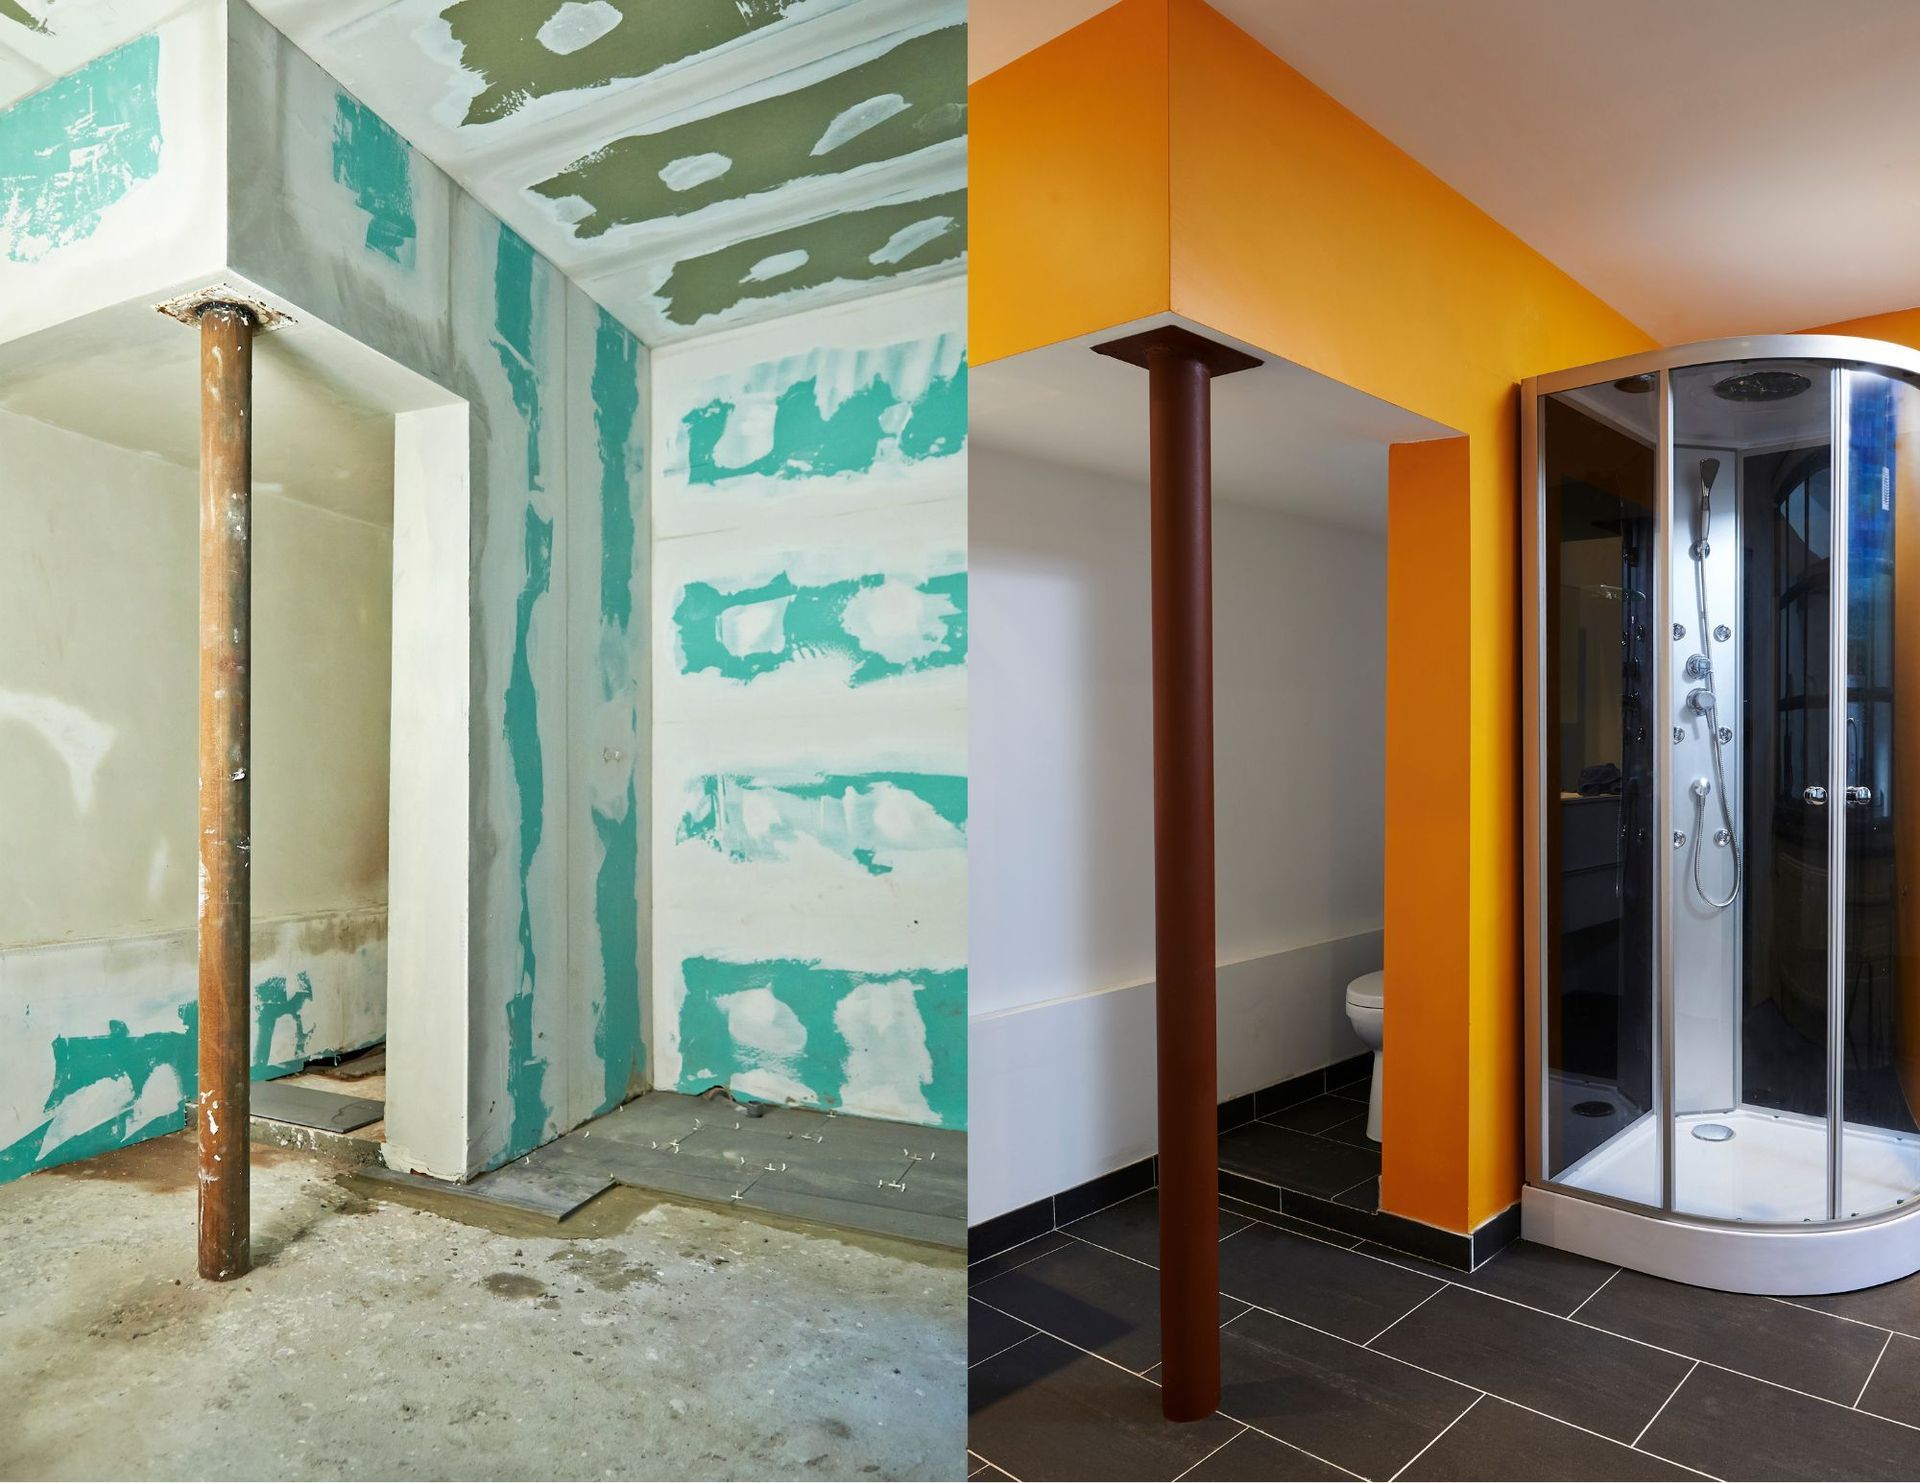
Waterproof Finishing


To provide an extra layer of protection, consider using waterproof paint or a specialized waterproof coating on the finished drywall surface. These products form a barrier that repels water and adds an additional level of defense against moisture. Be sure to follow the manufacturer's instructions when applying waterproof coatings or paints to achieve the best results.


Regular Maintenance


Maintenance plays a crucial role in preserving the integrity of drywall in wet areas. Regularly inspect the surfaces for any signs of water damage, such as discoloration or soft spots. Promptly address any leaks or water-related issues to prevent further damage. Keep the areas well-ventilated, ensure proper caulking around sinks and faucets, and promptly repair any cracks or gaps in the drywall to maintain its water resistance.


Installing drywall in wet areas requires careful consideration and adherence to best practices. By choosing moisture-resistant drywall, employing proper installation techniques, ensuring adequate ventilation, applying waterproof finishes, and practicing regular maintenance, you can protect your bathroom and kitchen drywall from water damage and mold growth. Remember, prevention is key when it comes to preserving the longevity and appearance of your drywall surfaces in wet areas.


For a drywall quote in Calgary, give us a call to talk to our experienced Calgary Drywall Contractors


19 Sep, 2023
Priming is one of the last steps before you start applying your new coats of paint. Once the drywall has been installed and the mud and tape coats have been applied, all of the small imperfections need to be sanded. What's left is a decent amount of dust on the walls. We've seen a few people online have been asking whether they need to clean dust off drywall before painting. Here is why you need to do just that. The Importance of a Clean Surface It's crucial to have a clean surface to apply primer and paint to. Any dust, crumbs, or imperfections left on the surface of the wall are going to poke through any final coats you're putting on. You'll want to give the wall a good wipe after you're finished sanding the dry compound. Some more consequences of not cleaning off drywall dust before priming are below. 1. Poor Adhesion: Dust and debris can create a barrier between the paint and the wall. This can lead to poor adhesion, meaning your paint won't stick well, and you may end up with flaking or peeling paint. 2. Uneven Finish: Drywall dust and dirt can create an uneven texture on your walls. When you paint over this, you'll notice imperfections in the finish, which is far from the smooth, flawless look you're aiming for. 3. Shortened Lifespan: A dirty surface can cause your paint to age prematurely. This means you'll likely need to repaint sooner than you'd like, leading to more work and expense in the long run. 4. Difficulty in Application: Painting over dust can be frustrating. The dust particles can get mixed into your paint, leaving visible specks on your walls. This not only looks bad but can be tough to fix after the fact. Given these potential issues, it's clear that starting with a clean slate is essential. But does this mean you have to clean off every speck of drywall dust before priming? The Drywall Dust Dilemma Drywall installation and finishing inevitably generate dust. Sanding the joints and seams is a standard part of the drywall process, and it leaves behind fine particles that seem impossible to escape. So, when it's time to paint, what should you do with all that dust? The answer depends on the state of your walls and your desired results. 1. New Drywall vs. Existing Walls: If you're dealing with new drywall installation, it's essential to clean off the dust before priming. This is because new drywall will have a significant amount of dust and debris from the sanding process. If you skip this step, your paint job is likely to suffer from all the issues mentioned earlier. For existing walls that have already been painted and are in good condition, you may not need to clean off every speck of dust before priming. However, it's still a good practice to dust and wipe down the surface to ensure a better paint bond and a smoother finish. 2. Type of Primer: The type of primer you plan to use can also influence whether you need to clean drywall dust beforehand. Some high-quality primers are designed to adhere well even to slightly dusty surfaces. However, it's generally a good rule of thumb to start with a clean canvas to maximize the longevity and appearance of your paint job. Cleaning Drywall Dust: Step-by-Step Now that we've established the importance of a clean surface let's go through the process of cleaning drywall dust before priming: 1. Safety First: Before you begin, ensure you have the right safety gear. Wear a dust mask, safety goggles, and gloves to protect yourself from inhaling or coming into contact with the dust. 2. Remove Loose Dust: Start by using a dry, clean cloth or a soft-bristle brush to remove as much loose dust as possible. You can also use a vacuum cleaner with a HEPA filter attachment to suck up the dust, but be gentle to avoid damaging the drywall surface. 3. Wipe Down the Surface: Next, dampen a clean cloth or sponge with water. Wipe down the entire surface of the drywall, making sure to pick up any remaining dust. Be careful not to oversaturate the drywall, as excessive moisture can cause damage. 4. Check for Residue: After wiping down the walls, inspect them closely. If you still see drywall dust or residue, repeat the process until the surface is clean. This might require several passes. 5. Allow to Dry: Once you're satisfied that the walls are clean, allow them to dry completely before applying primer. This ensures that the primer adheres properly and that you don't trap any moisture under the primer coat. Priming for Success Now that your drywall is clean and ready, it's time to apply primer. Primer serves several essential functions: - **Sealing:** It seals the surface, preventing the paint from soaking into the drywall, which can lead to uneven color and finish. - **Uniform Surface:** It provides a uniform surface for the paint to adhere to, ensuring a consistent finish. - **Better Adhesion:** Primer helps the paint adhere better, reducing the risk of peeling or flaking. When our drywall contractors are choosing a primer, opt for one that's suitable for your specific project. There are different types of primers available, including stain-blocking, high-hide, and adhesion-promoting primers. Select the one that addresses any specific issues you may have, such as stains or uneven surfaces. The Final Verdict So, do you need to clean drywall dust before priming? The short answer is yes, you should. Starting with a clean surface is a fundamental step in achieving a professional-looking paint job. While there are certain situations where you might be able to get away with less cleaning, it's generally best practice to ensure your walls are as dust-free as possible.
19 Sep, 2023
Taping and mudding your drywall is crucial. Here's what happens if you don't, and why you need to.
30 May, 2023
Learn How to Soundproof Your Rooms with Drywall
30 May, 2023
Before embarking on a drywall installation project, proper preparation is essential for ensuring a smooth and successful outcome. Preparing your space involves assessing the area, gathering the necessary tools and materials, and making the necessary adjustments to create an optimal environment for drywall installation. In this blog post, we will explore essential tips for preparing your space before drywall installation, providing you with the knowledge and guidance to streamline the process and achieve professional results. Assess the Area Start by assessing the space where drywall will be installed. Take accurate measurements of the walls, ceilings, and any other surfaces that require drywall. This will help you determine the quantity of drywall sheets and materials needed for the project. Identify any existing structural issues, such as water damage, cracks, or uneven surfaces, and address them before proceeding with the installation. Clear the Space Clear the area where drywall installation will take place. Remove any furniture, appliances, fixtures, or other objects that may obstruct the work area. By clearing the space, you create a safe and unobstructed environment for the installation process. If there are items that cannot be moved, cover them securely with plastic sheets or tarps to protect them from dust and debris generated during the installation. Gather the Necessary Tools and Materials Before starting the installation, ensure that you have all the essential tools and materials required for the project. This may include drywall sheets, drywall screws or nails, a tape measure, a utility knife, a drill or screw gun, a drywall saw, a T-square, a hammer, a sanding block or sandpaper, joint compound, and a trowel. Having these tools readily available will help you work efficiently and minimize any unnecessary delays. Prepare the Surfaces Preparing the surfaces before drywall installation is crucial for achieving a seamless finish. Start by removing any existing wallpaper, paint, or loose debris from the walls and ceilings. Fill in any cracks or holes with a suitable filler or joint compound, and sand the surfaces smooth. Ensure that the surfaces are clean, dry, and free from dust or grease, as this will promote better adhesion and a professional-looking end result. Install Blocking and Electrical Outlets If you plan to mount heavy objects, such as cabinets or shelves, on the drywall, it's important to install blocking behind the walls before the drywall goes up. Blocking provides additional support for securing heavy fixtures, ensuring they are securely anchored to the wall. At this stage, it's also necessary to install electrical outlets, switches, and any necessary wiring. Consult with a licensed electrician to ensure proper installation and adherence to local electrical codes. Mark the locations of the outlets and switches on the walls to guide the installation process. Protect Floors and Surrounding Areas To prevent damage to floors and surrounding areas during the installation, cover them with drop cloths or protective sheets. This will safeguard against scratches, spills, and debris. Additionally, consider using plastic barriers or dust containment systems to minimize the spread of dust and particles to other areas of your home.  Preparing your space before drywall installation is a crucial step in achieving a successful outcome. By assessing the area, clearing the space, gathering the necessary tools and materials, preparing the surfaces, installing blocking and electrical outlets, and protecting floors and surrounding areas, you create an optimal environment for the installation process. Following these tips will help you streamline the project and ensure a smooth and professional finish. Remember, proper preparation sets the foundation for a successful drywall installation.
By dave.toonders 30 Mar, 2023
Thinking of Renovating Your Basement? Here's Some Ways It Can Increase Propety Value
30 Mar, 2023
Learn Why Hiring a Drywall Contractor Can Save You Time and Money
30 Mar, 2023
Learn the steps we take to install your drywall properly!
Share by: